In this tutorial i will show you how to install extension kartik widget in yii2 and how to use it.
INSTALL
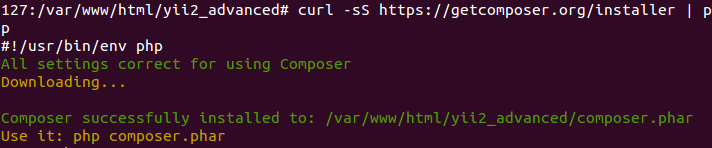
1) First, install composer.phar in your root directory of yii
curl -sS https://getcomposer.org/installer | php
If you get error “curl: command not found”, you must install curl
sudo apt-get install curl
you can see ‘composer.phar’ like this
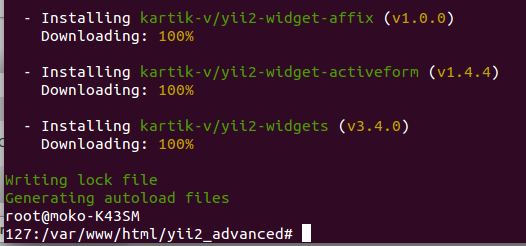
2. Install kartik widget with the following script :
php composer.phar require kartik-v/yii2-widgets "*"

And then will be downloading
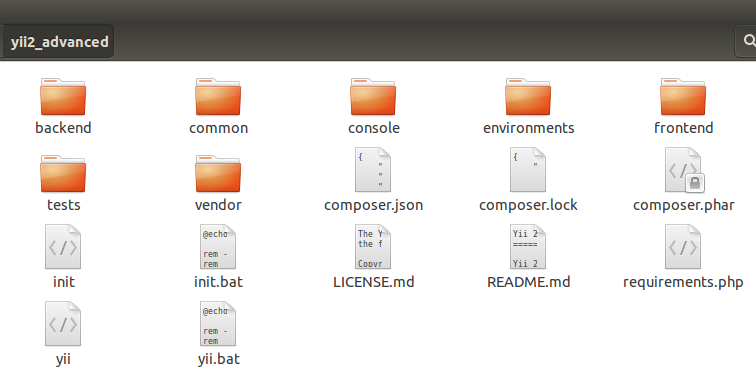
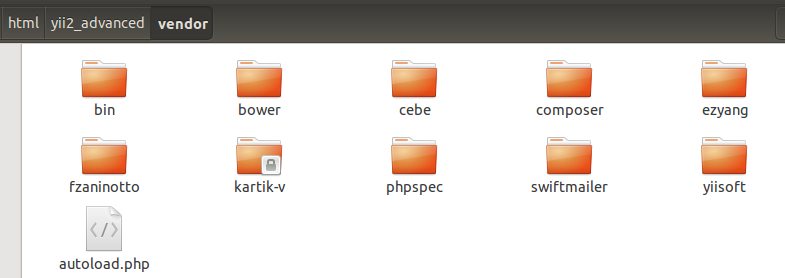
After download, you can see kartik widget in vendor/kartik-v
HOW TO USE
With kartik widget we can use any plugin :
– Select2 (dropdown)
– Input text
– Input password
– Radio button
– Checkbox
– Etc ..
1) Now in my Controller i have the script :
<?php
namespace frontend\controllers;

use Yii;
use yii\web\Controller;
use app\models\Kartik;

class KartikController extends Controller
{
	public function actionIndex()
	{
		$model = Kartik::find()->one();
		return $this->render('index', ['model' => $model]);
	}
}
2) Script in my views :
<?php
use yii\helpers\Html;
use kartik\widgets\ActiveForm;
use kartik\widgets\SwitchInput;
use kartik\widgets\Select2;
use kartik\widgets\FileInput;
?>

<?php $form = ActiveForm::begin(); ?>

	<!-- input text -->
    <?= $form->field($model, 'title') ?>

    <!-- input password -->
    <?= $form->field($model, 'title')->passwordInput() ?>

    <!-- input checkbox -->
    <?= $form->field($model, 'title')->checkbox() ?>

    <!-- radio button / switch input -->
	<?php echo SwitchInput::widget([
		'name' => 'title',
		'type' => SwitchInput::RADIO,
		'items' => [
			['label' => 'Low', 'value' => 1],
			['label' => 'Medium', 'value' => 2],
			['label' => 'High', 'value' => 3],
		],
	]);
	?>

	<!-- dropdown -->
	<?php
	$data = ['IDN' => 'Indonesian', 'MY' => 'Malaysia', 'SG' => 'Singapore'];
	echo Select2::widget([
		'name' => 'kv-type-01',
		'data' => $data,
		'options' => [
			'placeholder' => 'Select a type ...',
		],
	]);
	?>

    <?= Html::submitButton('Login', ['class' => 'btn btn-primary']) ?>

<?php ActiveForm::end(); ?>
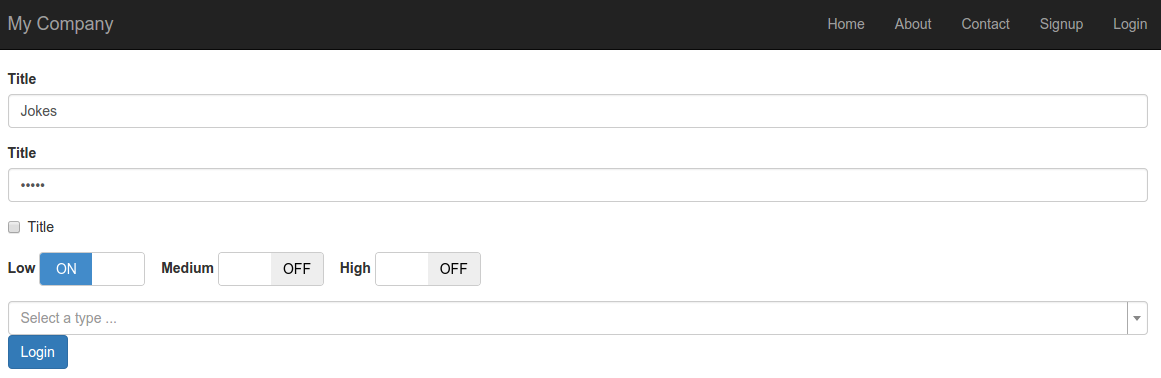
OUTPUT :